
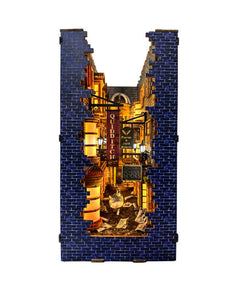
Book nooks have become a popular way for book lovers to create miniature scenes inspired by their favorite literary worlds. One such enchanting setting is Diagon Alley from J.K. Rowling's beloved Harry Potter series. Diagon Alley is a bustling and magical street filled with shops and hidden wonders. In this blog post, we'll guide you step by step on how to create your own Diagon Alley book nook, bringing the magic of the Wizarding World to your bookshelf.
Materials Needed:
-
A wooden shadow box or a sturdy bookshelf.
-
Craft foam or lightweight wooden pieces.
-
Craft paper or cardboard.
-
Acrylic paints and brushes.
-
Modeling clay or air-dry clay.
-
Small trinkets, miniatures, or dollhouse accessories.
-
Craft glue or hot glue gun.
-
X-Acto knife or scissors.
-
Fine-tipped markers or pens.
-
LED lights (optional).
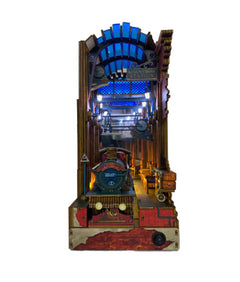
Step 1: Planning Your Design Before diving into the construction process, it's essential to plan your Diagon Alley book nook. Consider the iconic shops and landmarks you want to include, such as Ollivanders, Flourish and Blotts, Gringotts Bank, and the Leaky Cauldron. Sketch a rough layout to help visualize the placement of each element.
Step 2: Building the Background Start by creating a background for your book nook. Paint the interior of your shadow box or bookshelf with a sky-blue or night-sky color. You can add stars, clouds, or even a moon using white or silver paint. Consider adding subtle details like brick textures or wooden beams to create a more authentic atmosphere.
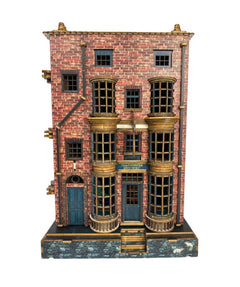
Step 3: Crafting the Buildings Using craft foam or lightweight wooden pieces, create the structures that represent the various shops in Diagon Alley. Use reference images from the Harry Potter series to guide your design. Cut out the shapes and glue them together to form the buildings. Remember to include details like doors, windows, and signs for each shop.
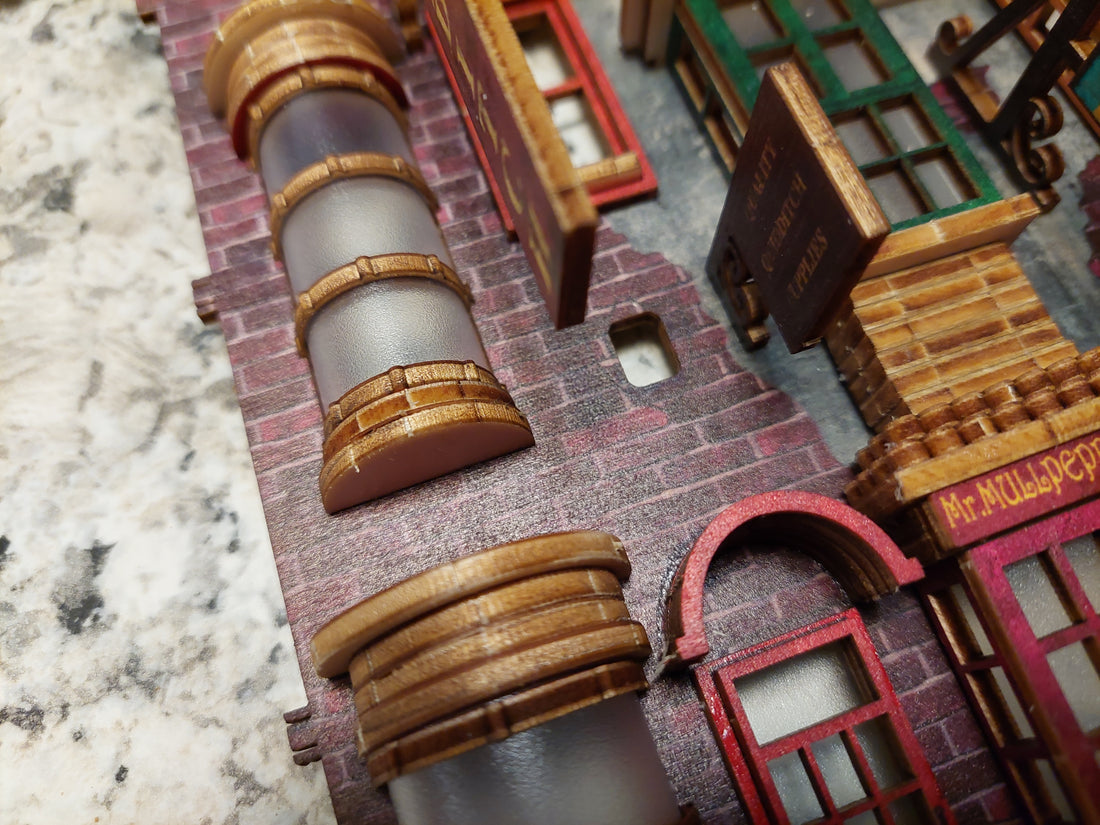
Step 4: Adding Texture and Detail Once the buildings are assembled, it's time to add texture and detail. Use acrylic paints to bring the structures to life. Experiment with different colors to match the vibrant and eclectic nature of Diagon Alley. Add weathering effects, such as aging or chipped paint, to create a more realistic appearance.
Step 5: Decorating the Storefronts Enhance the charm of each shop by decorating their storefronts. Craft paper or cardboard can be used to create display windows. Paint or draw intricate shop signs, and don't forget to include the store names. You can also incorporate real miniature objects, like tiny potion bottles or wands, to create an authentic and immersive experience.
Step 6: Sculpting Miniature Characters Using modeling clay or air-dry clay, sculpt miniature characters that bring life to your Diagon Alley book nook. Craft characters like Harry Potter, Hagrid, or shopkeepers, and place them strategically near their respective shops. Once the clay has dried, paint the figures with fine details to make them stand out.
Step 7: Assembling and Final Touches Carefully arrange your buildings, characters, and accessories within the shadow box or bookshelf. Use craft glue or a hot glue gun to secure them in place. Consider adding LED lights to create a magical ambiance. You can thread the lights through the buildings or position them strategically for a warm glow.
Step 8: Display and Enjoy Once you're satisfied with the arrangement, find the perfect spot to display your Diagon Alley book nook. It can become a captivating centerpiece for your bookshelf.
LKWood understands and has created the Diagon Alley book nook just for you (you can engrave your name on it) as well as other book nooks on the theme of the magical world of Harry Potter.
